
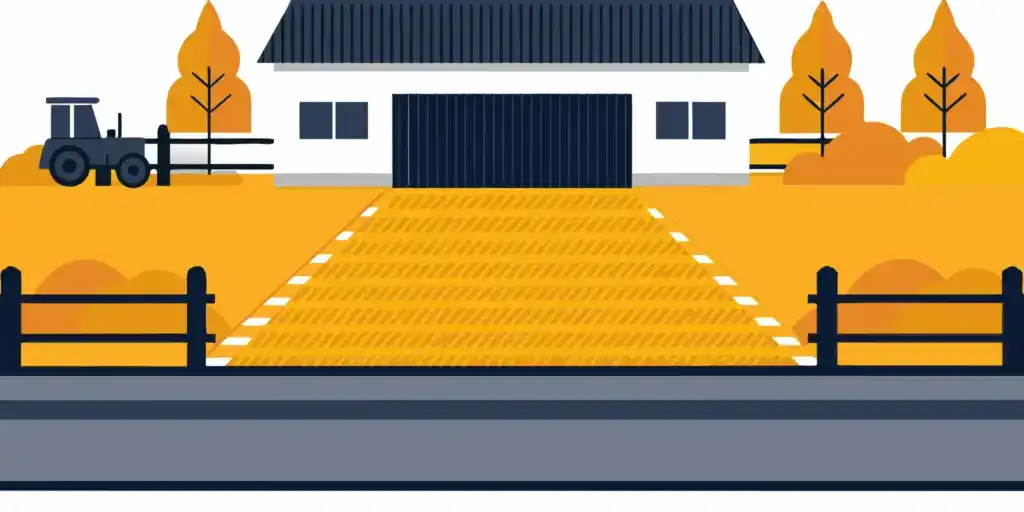
Most Minnesota gravel driveways fail first where trapped water freezes beneath the tire paths. Class 5 can build a firm, dependable surface, but only when depth, drainage, compaction, delivery timing, and truck access are planned together.
Request a free Class 5 gravel delivery quote
Class 5 gravel for driveway construction creates a compactable crushed-limestone base that performs in Minnesota weather when placed over prepared ground with reliable drainage and compaction. The correct depth depends on soil stability and vehicle loads, so remove weak material before placing and compacting gravel in several controlled layers across the driveway. A crowned surface and clear runoff paths move water away, limiting trapped moisture that can worsen damage during Minnesota’s repeated freeze-thaw cycles each year. Before delivery, confirm quantity and weather, then make sure the truck can safely reach and leave the dump location without crossing soft ground or tight turns.
The key question is whether the material, base, and site plan will work together after repeated freezes and spring thaws. To make that decision, start with Why Class 5 gravel works for Minnesota driveways. Here is where the path begins.
Why Class 5 gravel works for Minnesota driveways
A base material built to pack tight
Class 5 gravel is crushed limestone made to meet the MnDOT 3138 specification for base construction. For a Minnesota driveway, that designation gives the installer a known material rather than an ungraded pile of loose stone.
The mix contains different aggregate sizes, including small particles that fill spaces between larger pieces. During compaction, those particles lock together and form a hard, stable layer that can support regular driveway traffic. This is why Class 5 works as a base, but the material still needs sound preparation beneath it.
Installation matters more than comparison
Choosing Class 5 is only the first step. The installer must remove weak or soft material, shape the site, place the gravel evenly, and compact it in a controlled way. A practical guide to spreading Class 5 gravel can help homeowners plan that work before delivery day.
This installation focus is different from comparing Class 5 with other gravel types. A material comparison helps with selection, while installation determines how well the chosen aggregate performs on the site. Good grading and firm compaction help the driveway resist ruts, low spots, and movement under vehicle loads.
Drainage and Minnesota freeze-thaw cycles
Water is a key concern because it can collect in low areas and weaken the driveway structure. Minnesota road guidance describes three useful drainage features: a crowned driving surface, a sloped shoulder, and a ditch that carries water away. The guidance also notes that restoring the crown and cleaning ditches are part of regular gravel maintenance.
Freeze-thaw cycles make that water control even more important. When the base stays wet, seasonal freezing and thawing can expose weak spots and disturb the surface. UMN Extension runoff guidance reinforces the value of slowing and redirecting water. Proper site preparation gives Class 5 gravel for driveway projects a stable foundation, while the crown and drainage path move water away.
The finished driveway will still need care as seasons and traffic change its shape. Watch for standing water, ruts, and gravel pushed toward the edges. Early grading can restore the crown before a small drainage issue grows into a larger repair.
How deep should Class 5 gravel be for a driveway?
The right depth of Class 5 gravel for a driveway depends on what sits below it. A firm, well-drained driveway needs a different plan than bare soil, deep ruts, or a soft base. Depth should be set after checking drainage, soil strength, traffic, and the condition of any existing gravel.
Refresh versus new construction
A stable driveway refresh may need only enough new Class 5 to restore shape and replace lost material. Before adding gravel, fix potholes, soft spots, and poor drainage. Otherwise, a thicker layer can hide the problem for a short time without fixing its cause.
New construction usually needs excavation and a deeper prepared base. Weak or wet soils may also call for separation fabric or a larger stone layer below the Class 5. A contractor should assess the site when soil pumps under traffic, holds water, or has repeated deep ruts.
| Condition and depth approach |
|---|
| Stable existing driveway. Use a thinner refresh layer after filling low spots and restoring shape. |
| Worn or rutted driveway. Add depth where the base failed after repairing weak areas and drainage. |
| New driveway on firm soil. Build a full compacted base after excavating, grading, and preparing the soil. |
| New driveway on weak soil. Use a deeper layered base after assessing soil and adding stabilization. |
Compacted lifts, not one loose pile
Plan depth in compacted lifts rather than measuring one loose pile. Each lift should be spread, shaped, and compacted before the next one is placed. This method helps the material knit together and makes weak areas easier to spot before the driveway is finished.
Final depth also affects the order quantity. Measure the driveway after excavation, then use the finished dimensions when calculating how much gravel you need. Account for compaction and any extra material needed to restore the crown.
Drainage and site assessment
Depth alone will not keep a gravel driveway firm. Water must leave the driving surface and move away from the base. A sound gravel road has a crowned surface, sloped shoulders, and a ditch that keeps water moving away from the base.
Ask a contractor to inspect the site when water pools, the edges sink, or frost movement keeps returning. Professional site prep can set excavation depth, correct drainage, and establish a sound base. It also makes professional grading and material placement more consistent.
How to prepare the base before placing Class 5
Base preparation controls how well a Class 5 gravel driveway handles traffic, runoff, and seasonal ground movement. Do not start by spreading stone over soft soil or standing water. The sequence below creates a firm platform and gives water a clear path away from the drive.
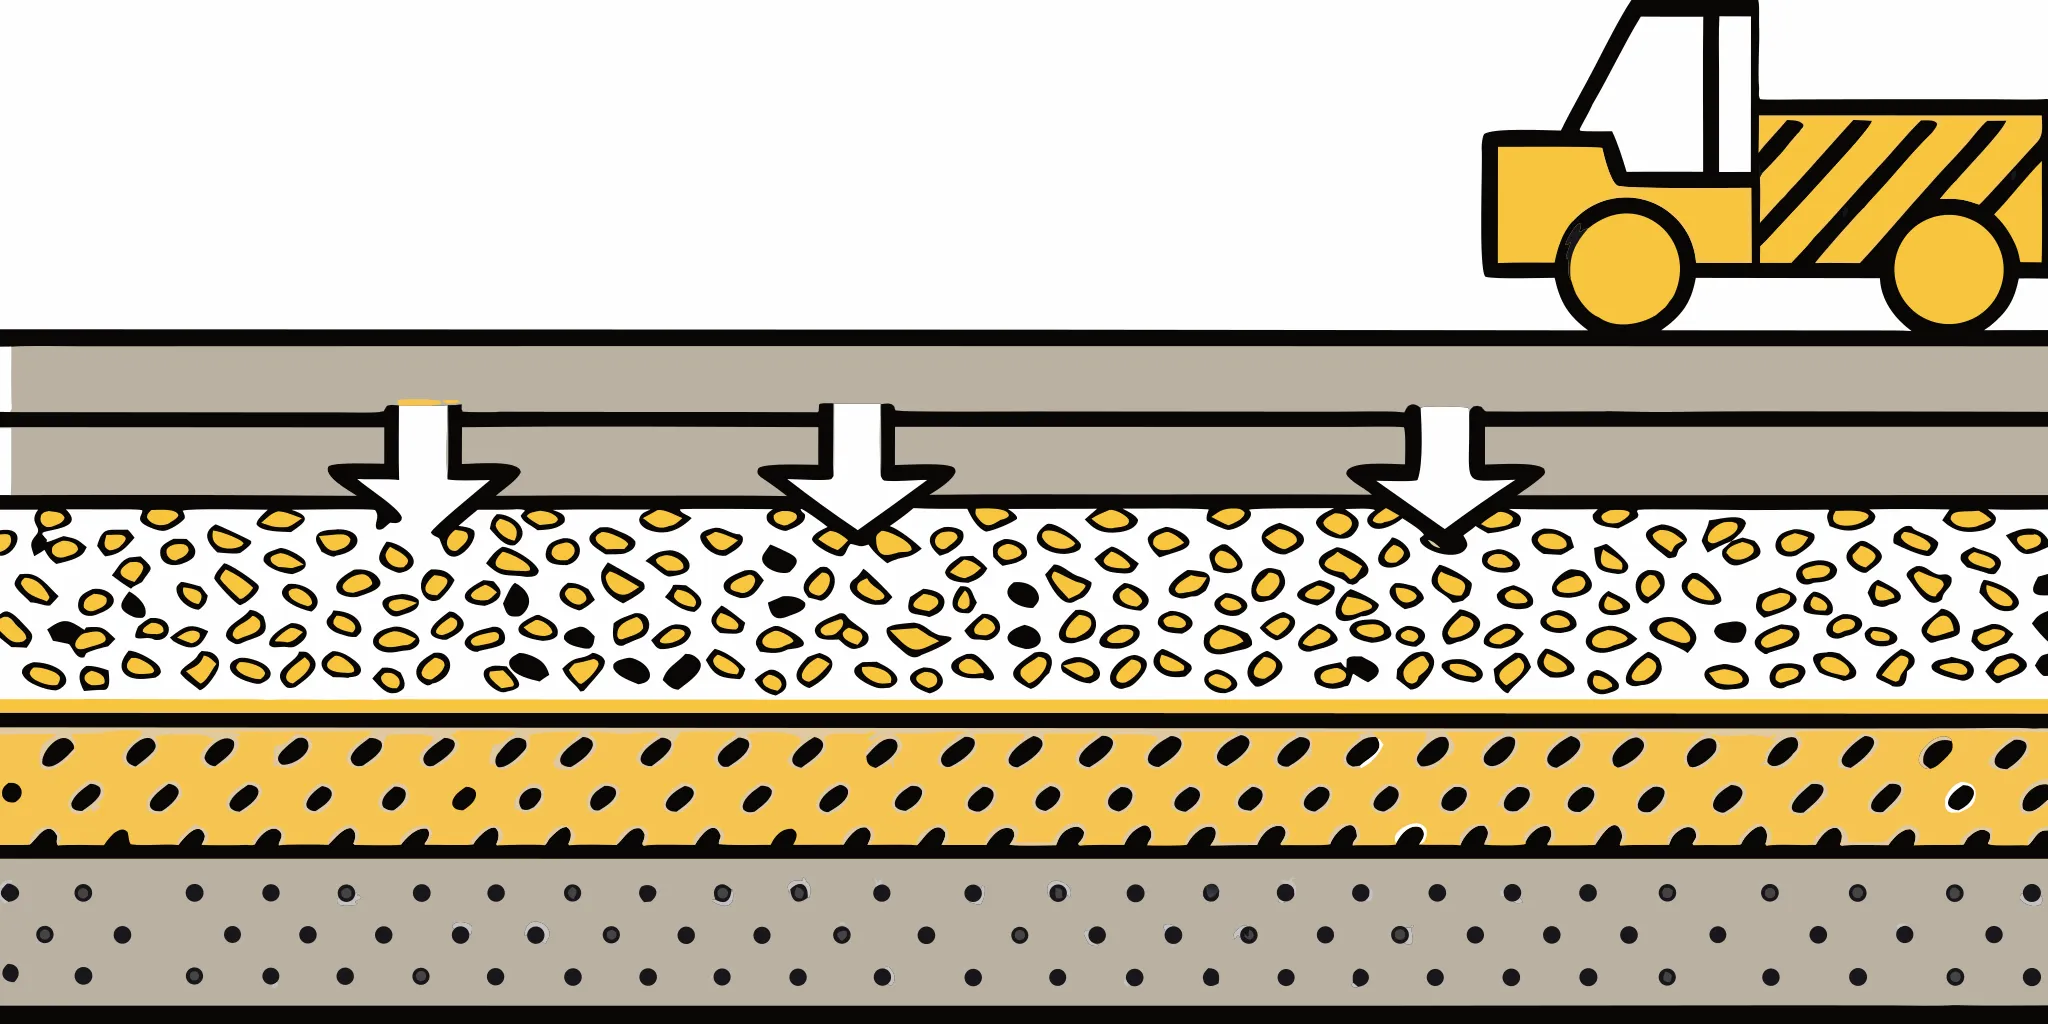
Prepare a Class 5 driveway base by removing soft soil and organic material, correcting drainage, shaping a stable subgrade, and placing gravel in thin compacted lifts. Build the crown and clear runoff routes before the final compaction pass so water cannot remain beneath the driving surface.
Drainage and subgrade checks
First, walk the full driveway after rain and note every wet area, rut, and low edge. Check where water enters the site and where it can leave. The finished base should send runoff away from buildings and keep it moving beyond the driveway.
A sound gravel drive combines a crowned surface, sloped shoulders, and a ditch that carries water. This layout follows established gravel-road geometry practices. Plan those drainage features before excavation, since later grading cannot fix a trapped outlet.
Probe suspect ground instead of judging only its surface. A dry crust can hide wet or loose soil below. Also check culverts and ditch outlets for blockage before setting the grade.
Six-step base preparation
Use this order when preparing the base for class 5 gravel for driveway construction. Site conditions can change the needed excavation and equipment. Stop and correct soft spots before covering them, because buried weak areas often return as ruts.
- Mark the grade and drainage route. Set the driveway edges, high point, and planned water outlets. Confirm that runoff can reach a safe edge or ditch without crossing nearby structures.
- Excavate weak surface material. Remove sod, roots, mud, loose organic soil, and any failed driveway material. Keep digging in soft areas until the exposed subgrade feels firm under equipment.
- Shape and compact the subgrade. Grade the exposed soil toward the planned crown and outlets. Compact it evenly, then watch for pumping, deep tire marks, or movement that shows a weak spot.
- Add geotextile where it solves a soil problem. Fabric may help separate aggregate from soft or wet soil. Select it for the site conditions, then overlap and secure it as its maker directs.
- Place Class 5 in manageable lifts. Spread each lift to an even grade before adding more material. For a smoother setup, use the gravel tons calculator guide to plan enough material for even lifts across the drive.
- Set moisture, compact, and recheck grade. Material should be damp enough to bind without turning soft or muddy. Compact the full width, including edges, and correct low areas before the next lift.
Thin, even lifts give the compactor a better chance to reach the whole layer. Make several passes and change direction when space allows. If the aggregate shifts or waves under the machine, stop and correct the cause.
Final crown and edge drainage
Finish by shaping a clear crown so water moves from the center toward both edges. Keep shoulders lower than the driving surface, and avoid raised edge ridges that trap runoff. Where a ditch is needed, give it a clear outlet rather than ending it at a low spot.
Inspect the prepared base before the final surface is placed. Look for standing water, loose edges, rutting, or areas that shift under equipment. Fixing those issues now protects the grade and makes later maintenance more direct.
Designing for Minnesota freeze-thaw cycles
Minnesota freeze-thaw cycles put a gravel driveway under steady stress. Water enters low spots and soft areas, then the wet base shifts as conditions change.
A durable design gives water a clear route off the surface and away from the base. That approach helps class 5 gravel for driveway projects stay firm through changing seasons.
Keep water moving
The driveway crown is the first line of defense. Its high center sends rain and snowmelt toward the edges instead of letting water collect in wheel paths.
Established gravel-road guidance describes a crowned driving surface, sloped shoulders, and a ditch that carries water. Each part must connect to the next. Otherwise, runoff can stop before it leaves the driveway.
- Shape the crown so water flows toward both edges.
- Slope shoulders away from the driving surface.
- Keep ditches open and able to carry runoff.
- Direct discharge to a safe outlet, not another low spot.
Protect the base and edges
Standing water can soften the base beneath the gravel. Traffic then pushes loose material into ruts, which collect more water and speed up surface damage.
Firm shoulders also support the driveway edge. A broken edge can trap runoff and send water back toward the travel path. The water should reach the ditch instead.
Good grading matters during installation and later repairs. Following sound methods and arranging Class 5 gravel delivery for a prepared site helps create an even surface that can be shaped for drainage.
Watch how runoff moves during a hard rain. A quick check can reveal flat areas, blocked outlets, and weak edges that look fine in dry weather.
Maintain drainage before damage spreads
Inspect the driveway after spring thaw and heavy rain. Look for ponding, shallow ruts, washed edges, blocked ditches, and places where the crown has become flat.
Fix small drainage issues before adding fresh gravel. Filling a low spot without restoring the crown may hide the problem while leaving the water path unchanged.
Timely maintenance includes reshaping the crown, pulling loose gravel from the edges, and clearing ditch debris. Add material where needed. Then grade it into the existing surface instead of leaving a loose patch.
Pay close attention where the driveway meets a road, garage slab, or steep grade. These points often change the flow path and need careful shaping.
A sound driveway works as one drainage system. The crown sheds water, shoulders move it outward, and ditches carry it away before the next freeze-thaw cycle.
How much Class 5 gravel will you need?
Start with finished dimensions
Measure the driveway’s full length and width, then choose the compacted depth required for the finished base. Use the same unit for every measurement. Multiply length by width by compacted depth to find the volume of Class 5 gravel for driveway construction.
Measure each section on driveways that change width or include parking pads. Calculate those areas on their own, then add the results. This approach is more reliable than using one rough measurement for the whole site.
Base the depth on the finished, compacted layer rather than the loose material before grading. Crown, shoulders, low spots, and transitions can change the actual volume. Proper gravel road geometry includes a crowned surface, sloped shoulders, and drainage ditches.
Convert volume into an order
Suppliers sell and deliver gravel by weight, so your measured volume must be converted into tons. The final conversion depends on the material and its condition. Use a supplier’s current figure instead of relying on a generic estimate from an unrelated project.
For a clear walkthrough, use this guide to calculate how much gravel you need. Keep your length, width, and planned compacted depth ready when requesting a quote. These details help the supplier check the estimate and recommend a practical order amount.
Ask the supplier to account for compaction, grading, and normal jobsite waste in the quote. Do not add a fixed allowance without discussing the site. A soft base, uneven grade, or repair area may need more material than a level, prepared drive.
Plan loads around the site
The number of loads is not based on driveway size alone. Order tonnage, truck capacity, delivery distance, and site conditions all affect the delivery plan. Access limits may also determine where a driver can safely place each load.
Before scheduling delivery, check gate width, overhead clearance, turning space, slopes, and ground firmness. Mark the planned dump area and keep it clear. If a truck cannot reach the work area, the project may need extra handling after delivery.
Also decide how the material will move from the dump point to the driveway. Planning with the gravel calculator and tons guide helps match each delivery to the work pace. Share site photos and measurements when requesting a quote so the supplier can plan suitable loads.
Planning delivery and preparing truck access
A smooth delivery starts before the truck leaves the yard. Plan the order, delivery route, and dump location as one process. Minnesota Aggregates typically schedules delivery within 3-4 business days, and rush options may be available. Allow extra planning time if the site has tight access, soft ground, or a hard-to-reach dump area.
Order details and timing
Request a quote after you know the project size and planned material depth. Delivery pricing depends on quantity, travel distance, and site conditions. If you are still sizing the order, start by calculating how much gravel you need. Accurate details help prevent delays and reduce the risk of ordering too much or too little.
When booking Class 5 gravel delivery, explain where the truck should enter and unload. Share any limits that may affect the route. These include a narrow gate, steep grade, sharp turn, weak culvert, or busy road. Confirm the delivery day and keep a contact available in case conditions change.
A clear route for the truck
Walk the full truck route before delivery day. Look up for low branches and overhead wires, then check both sides for fences, vehicles, and other tight spots. The truck also needs room to turn and leave. Do not assume a path that fits a pickup will work for a delivery truck.
- Move parked vehicles, trailers, tools, and loose materials away from the route.
- Mark the dump location so the driver can see it from the approach.
- Keep people and pets clear while the truck enters, dumps, and exits.
- Tell the supplier about soft ground, slopes, low wires, and tight turns before dispatch.
Check the ground after rain or a thaw. A firm-looking lawn or shoulder may still be too soft for a loaded truck. If the route is questionable, discuss a safer dump point before delivery. A shorter haul with other equipment is better than risking damage or a stuck truck.
A ready dump area
Prepare the driveway base and choose the dump location before the load arrives. Remove brush, debris, and anything that blocks access. The planned pile should not trap the truck or block its exit. It should also leave enough room for spreading and grading once the material is down.
Proper road shape matters after delivery too. Gravel roads need a crowned driving surface, shoulder, and ditch to move water away. Plan the dump point so crews can build that shape instead of pushing material across wet or weak ground.
Review the site again on delivery morning. Keep the route open, make the dump marker easy to spot, and answer calls from the driver. If weather changes the ground conditions, speak up before the truck enters. Clear details and a ready site help keep the delivery safe and the driveway project on schedule.
Compaction and maintenance after delivery
After delivery, spread and compact the material before regular traffic begins. Work across the full driveway instead of packing only the tire paths. A firm, even surface helps the driveway shed water and makes low spots easier to see.
Compact class 5 gravel for driveway use in thin, even lifts. If the surface is dusty and loose, light moisture may help it bind during compaction. Avoid soaking the material or working it when the base is soft.

Compaction and crown checks
Check the crown after spreading and again after compaction. The center should stay higher than the edges so water moves off the driving surface. Minnesota LTAP notes that a crowned surface commonly has a one-half-inch drop per foot of width.
Use a long straight board, level, or string line to find flat areas. Also watch the driveway during rain. Standing water often points to a low spot, blocked edge, or lost crown that needs work.
Early repairs for potholes and ruts
Inspect the driveway after heavy rain, spring thaw, and periods of frequent traffic. Repair shallow ruts and small potholes before tires push them deeper. Loosen the damaged area, add matching material, shape it, and compact the repair.
Do not fill a pothole by covering only its loose top. Remove soft or muddy material first, then rebuild a firm base beneath the patch. Add more gravel when repeated grading leaves the surface thin or exposes larger base stone.
For a larger refresh, consider skid steer services to spread and grade material across the full repair area. This keeps new material even and helps preserve the crown.
Snowplows and seasonal grading
Before the first snowfall, mark driveway edges, culverts, and other spots a plow operator may not see. Ask the operator to avoid scraping loose gravel from an unfrozen driveway. Keep pushed snow away from drainage paths where possible.
When spring thaw ends and the base firms up, rake displaced gravel back onto the driveway. Then restore the crown and compact loose areas. Wait if equipment leaves deep tracks, since grading a soft base can create larger ruts.
Long driveways and broad repair areas may need equipment for an even finish. Professional skid steer services can handle spreading, site prep, and leveling when hand tools are not practical.
Frequently Asked Questions
How heavy is Class 5 gravel?
Class 5 gravel is delivered by weight, but its weight per cubic yard can vary with moisture, source, and material composition. Ask the supplier to convert your measured volume into tons using its current figure. Remember that the delivery truck and loaded material are both heavy. Soft ground, weak culverts, and thin pavement may not safely support the load.
When should I schedule Class 5 gravel delivery?
Schedule delivery after excavation, drainage work, and base preparation are complete. Also check the forecast, since heavy rain can soften access routes and the prepared subgrade. Minnesota Aggregates lists a typical delivery window of three to four business days, with rush options available. Confirm timing directly because quantity, distance, weather, and site conditions can affect the plan.
Can a gravel delivery truck dump Class 5 directly on my driveway?
A delivery truck may dump directly on a driveway only when the route and dump area are safe. Confirm gate width, overhead clearance, turning space, slope, ground firmness, culvert capacity, and an exit path. The driver makes the final placement decision at the site. If access is limited, choose a firm staging area and plan equipment to move and spread the gravel.
What does Class 5 gravel look like?
Class 5 gravel contains crushed limestone in several particle sizes, including fine material that fills gaps between larger pieces during compaction. Its exact color and visible texture can vary by source and moisture level. For driveway base construction, verify that the order meets the required specification rather than selecting it by appearance alone. A sample can help confirm what will arrive.
Ready to schedule your Class 5 gravel delivery?
Waiting to plan your driveway project can leave you with rushed base preparation, uncertain material needs, and limited delivery options. Starting now gives you time to confirm the right depth, prepare a stable base, and arrange clear site access before your preferred delivery date. Early planning also helps you avoid rushed decisions that may cause drainage trouble, uneven spreading, or extra work after Minnesota freeze-thaw cycles.
Ready to keep your driveway project on schedule? Request a free quote for Class 5 gravel delivery to discuss quantity, delivery timing, site access, and any skid steer help you may need. A clear plan today makes it easier to prepare the site and place the material efficiently when delivery day arrives.